The Deep Roots of Chinese Cooking in Thai Cuisine
Discover how Chinese cooking has shaped the gastronomic evolution of Thai cuisine!
Discover the authentic in Asian cuisine food
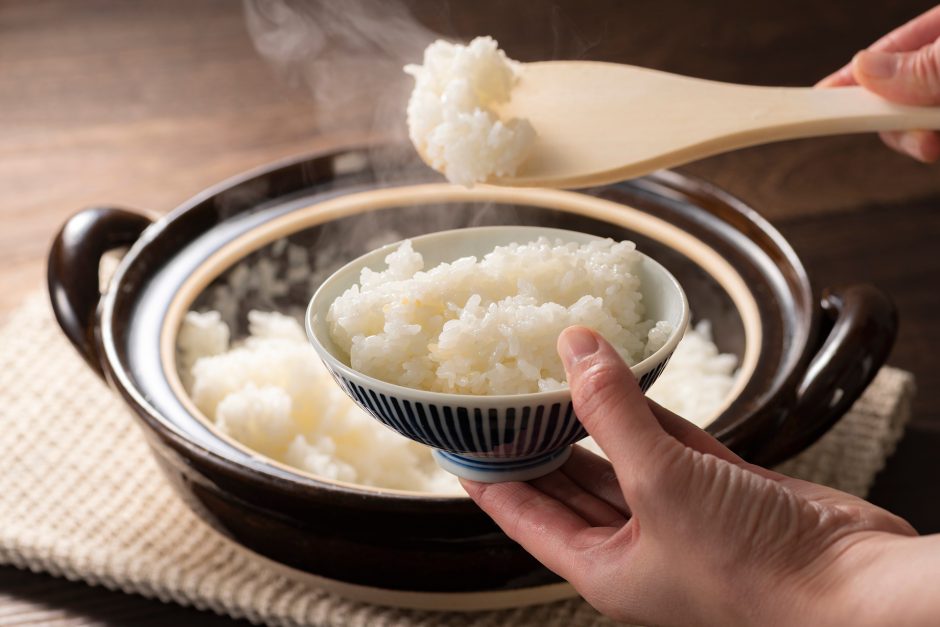
Rice is both a staple and a symbol of Asian cuisine. That said, all rice isn’t the same. There is a wide variety of rice that different Asian cuisines prefer to use depending on the dish, such as the exotic long-grain Basmati, the fragrant Jasmine variety, or the chewy brown rice. But of all the rice varieties out there, none is quite as popular as the Japanese short-grain rice.
Short, plump, and sticky, short-grain rice is prized for having the right qualities that make it ideal for making sashimi and rice balls (onigiri). However, unlike many other rice variants, cooking Japanese short-grain rice requires an extra step to bring out its fluffy texture. And the key to achieving that quality is water.
Rice comes in a dry, desiccated state, and it becomes soft when cooked in water. However, Japanese short-grain rice requires a bit more water than other rice varieties to get its plump texture.
Cooking Japanese short-grain rice won’t be enough for the water to penetrate its hard kernel. To get enough moisture into the grain, it needs to be soaked in water for around 30 minutes before cooking. This allows enough time for the moisture to penetrate each grain and “revive” its texture.
With that in mind, let us get to the steps for cooking the perfect bowl of Japanese short-grain rice.
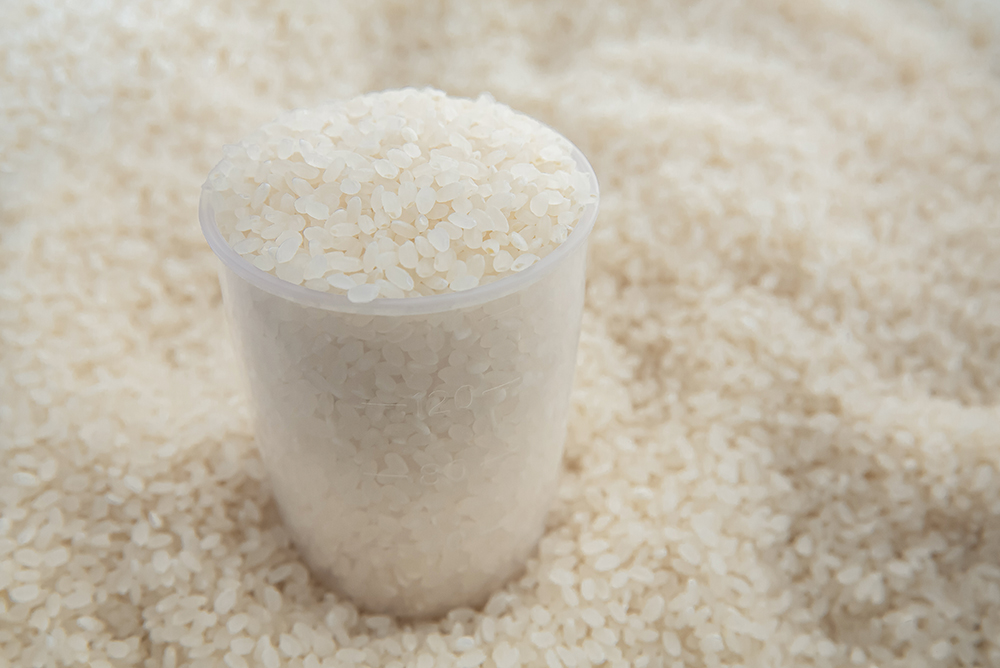
Step 1: Scoop out your desired amount of rice in a cup and pour it into the pot
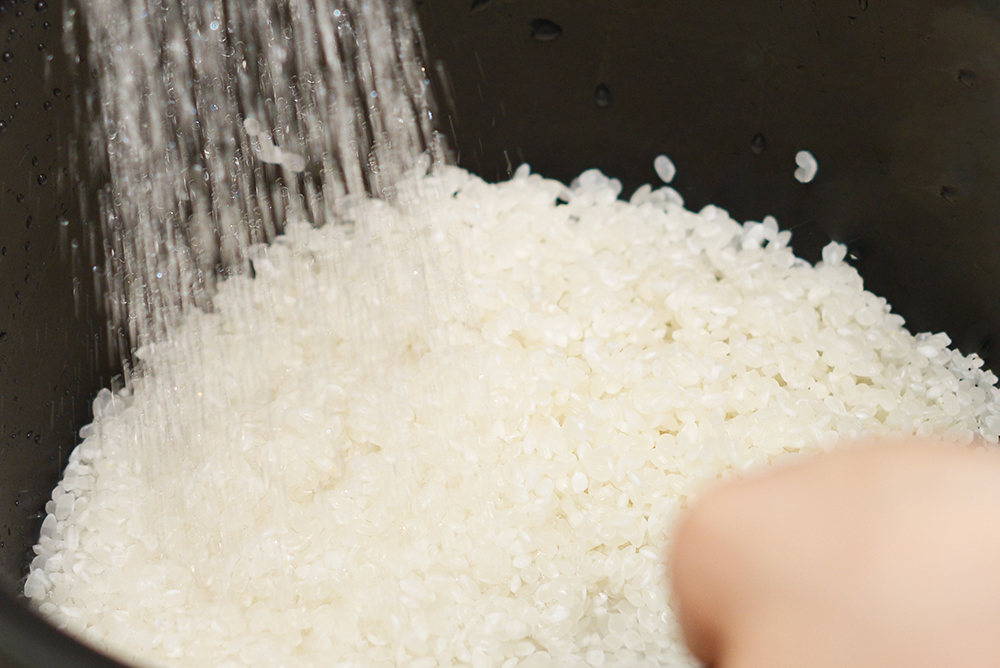
Step 2: Wash the rice in cold water by covering the rice with water and stirring it, drain the water and repeat the process two to four times until the water runs clear. Drain the water away.
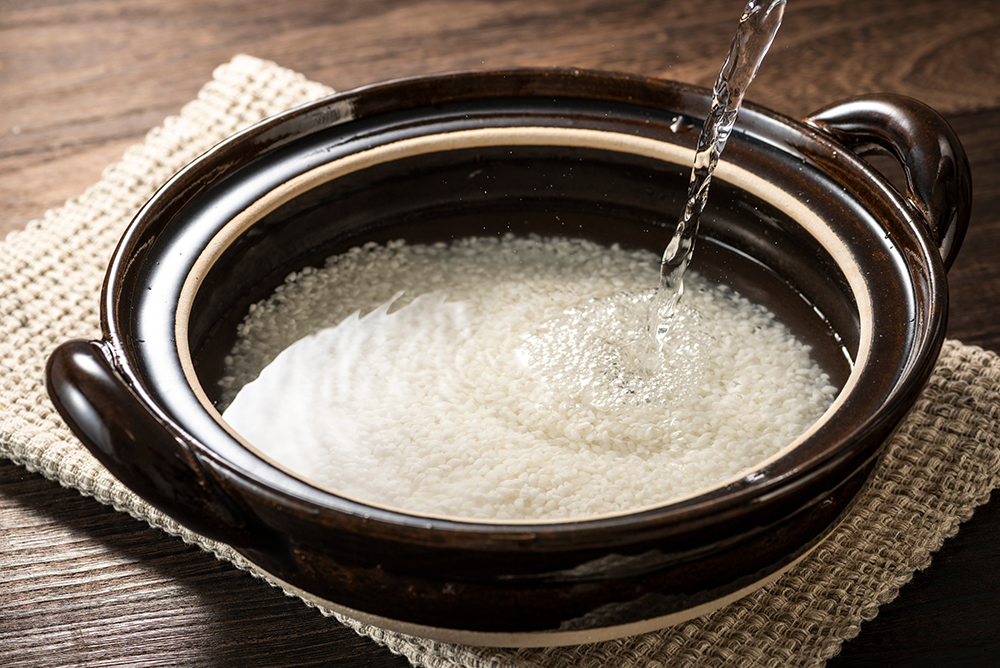
Step 3: Put the washed rice into a pot and pour in 1.2 cups of water for every cup of rice used (or a rice-to-water ratio of 1:1.2). Leave to soak for about 30 minutes.
Step 4: Close the lid of the pot and bring it to a boil over medium heat. Lift the lid to see if the water is boiling – but do not lift the lid completely so that the steam is kept in the pot. Reduce heat to low and cook until the water is almost gone.
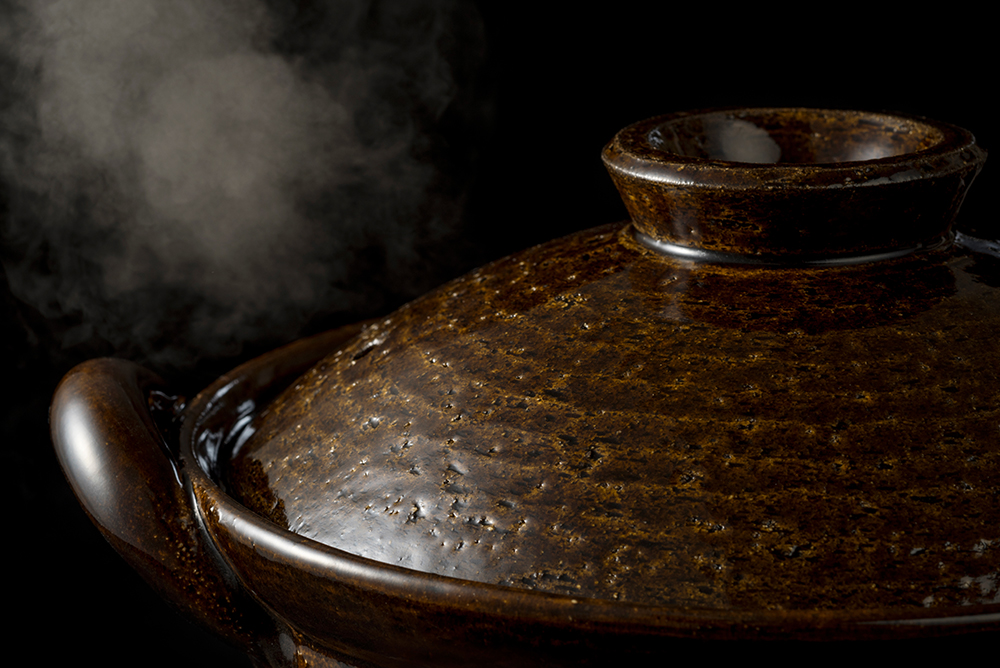
Step 5: Turn off the heat, leave the lid on, and let it sit for around 10 minutes. Open the lid, fluff the rice with a spatula or a pair of chopsticks and serve.
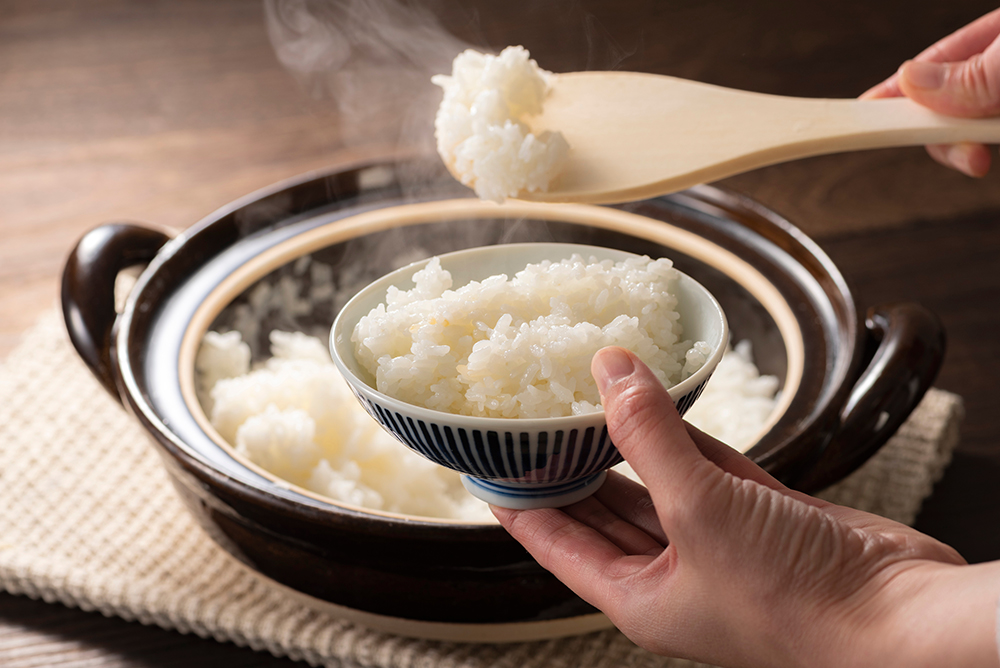
Step 1: Scoop out your desired amount of rice in a cup and pour it into the pot.
Step 2: Wash the rice in cold water by covering the rice with water and stirring it, drain the water and repeat the process two to four times until the water becomes almost clear. Drain the water away.
Step 3: Put the washed rice into a pot and pour in 1.2 cups of water for every cup of rice used (or a rice-to-water ratio of 1:1.2) and leave it to soak for about 30 minutes. (*Note that some rice cookers allocate time to allow the rice to soak before cooking and steam after it is cooked, depending on its settings. If that were the case, proceed with pressing “Start” on the rice cooker. Please refer to your rice cooker manual for more information).
Step 4: Close the rice cooker lid and press “Start”.
Step 5: Once cooking is complete, let the rice sit in the rice cooker for 10 minutes for it to steam or keep warm. Open the lid, fluff the rice with a spatula and serve.
Nothing beats a freshly cooked batch of rice. And many cooks will tell you that storing rice overnight would make it dry and unpalatable, which is why they prefer to re-cook it as fried rice. However, with the right storage method, you can keep freshly cooked rice for up to a month and still be able to reheat it back to its moist and fluffy state when needed.
Forget refrigeration or keeping excess rice in a pot, according to the Japanese, the best method is to freeze it. And knowing how the Japanese take their rice seriously, this might be the best solution!
The key to storing cooked rice is to take the excess rice you want to store immediately out of the cooker and pack it into an airtight container with the lid on tight to trap the moisture and steam. Allow the rice to cool completely before putting the rice into the freezer.
There are two ways of reheating frozen stored rice – you can either steam it in a pot or reheat it in a microwave. Since storing the rice in a sealed container straight from the cooker, much of its moisture is still present, making it easier for the rice to return to its moist and fluffy state when reheated.
To steam the frozen rice in a pot, you need to prepare the pot. First, wrap the pot cover in a clean cloth to avoid the condensation from wetting the rice. Then place a steaming tray into the pot and fill it with an inch of water. Take the container of frozen rice out of the freezer, remove the lid, and put it on the tray. Put the wrapped lid on the pot and bring the water to a boil. Leave until the rice is warm.
By comparison, microwaving frozen stored rice is more straightforward. To reheat, remove the container lid and cover the container with a paper towel. Put the container into the microwave, and reheat it until the rice is hot.
Once reheated, fluff the rice with a paddle, serve and enjoy a hot steaming bowl of rice that tastes as fresh as the day it was cooked!

Discover how Chinese cooking has shaped the gastronomic evolution of Thai cuisine!
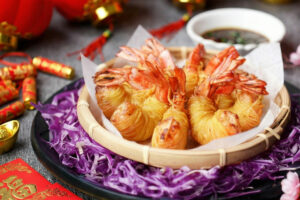
Crispy outside, savoury and tender within, these noodle-wrap prawns are sure to delight!
-300x200.jpg)
Enjoy the rosy layers of sweet Kuih Lapis with our step-by-step recipe!